Quickstart
These steps will get you started with running otfd on your local system.
Download a release of the server component, otfd. The release is a zip file. Extract the otfd binary to your current directory.
Ensure you have access to a postgres server. otfd by default assumes postgres is running locally, accessible via a domain socket in /var/run/postgresql, and defaults to using a database named otf. You need to create the database first:
createdb otf
At a minimum, otfd requires a secret and a means of authentication. For the purposes of this quickstart we'll use a site token:
> ./otfd --secret=6b07b57377755b07cf61709780ee7484 --site-token=my-token
2022-10-30T20:06:10Z INF started cache max_size=0 ttl=10m0s
2022-10-30T20:06:10Z INF successfully connected component=database path=postgres:///otf?host=/var/run/postgresql
2022-10-30T20:06:10Z INF goose: no migrations to run. current version: 20221017170815 compone
nt=database
2022-10-30T20:06:10Z INF started server address=[::]:8080 ssl=false
Note
The secret must be a hex-encoded 16-byte array
You have now successfully installed otfd and confirmed you can start otfd with minimal configuration. Proceed to create your first organization.
Create organization
Navigate to the web app in your browser, http://localhost:8080:
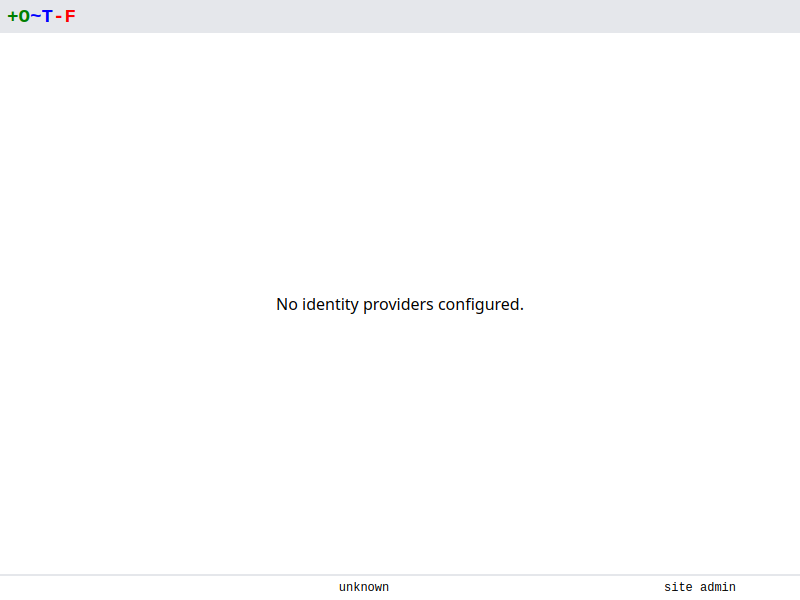
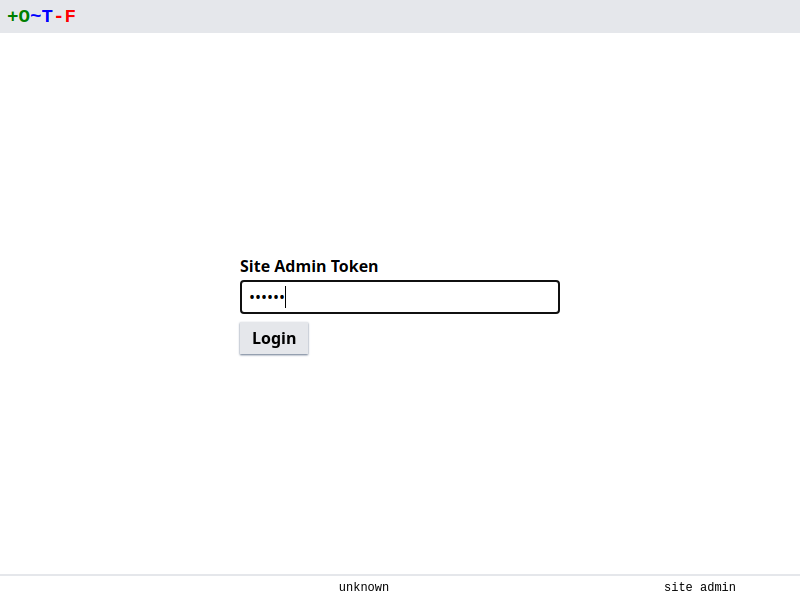
Note it announces you have no authenticators configured. The normal method of login is to use SSO signin, via Github etc, but in this quickstart we're using the site admin account. Click on site admin in the bottom right, and use your token to login.
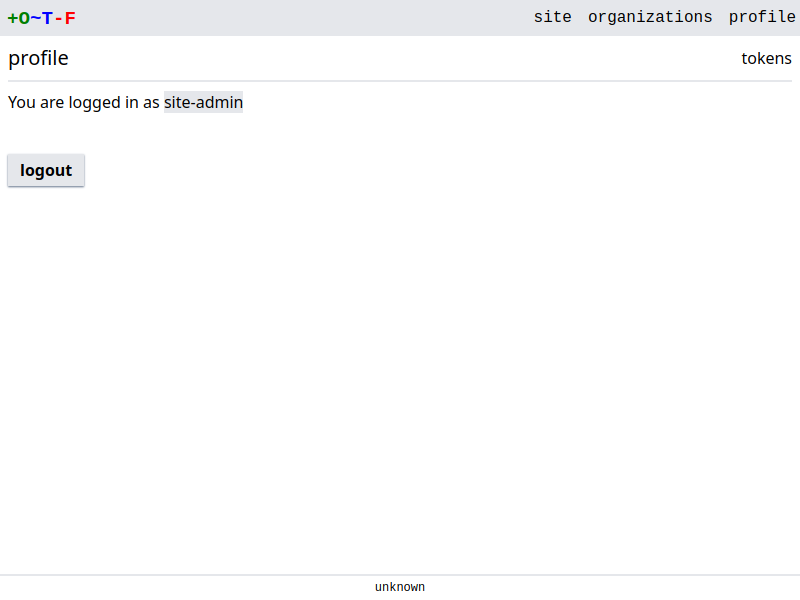
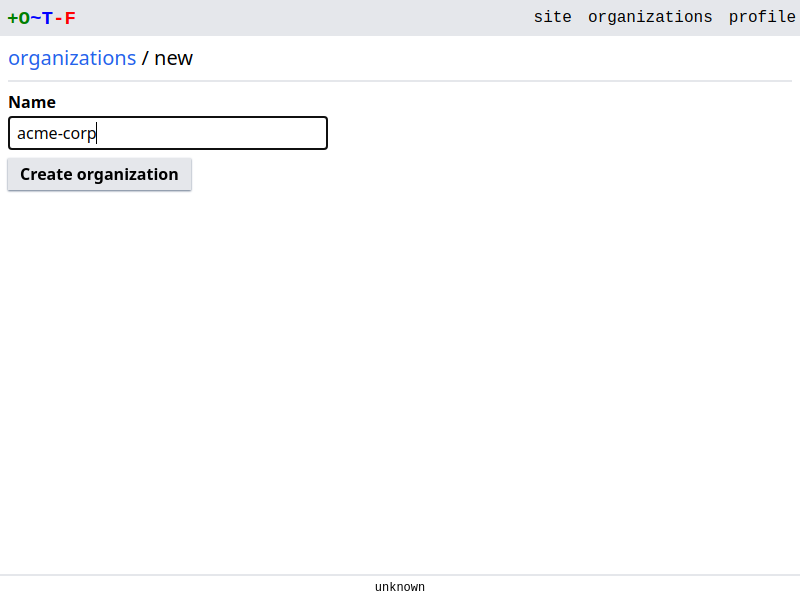
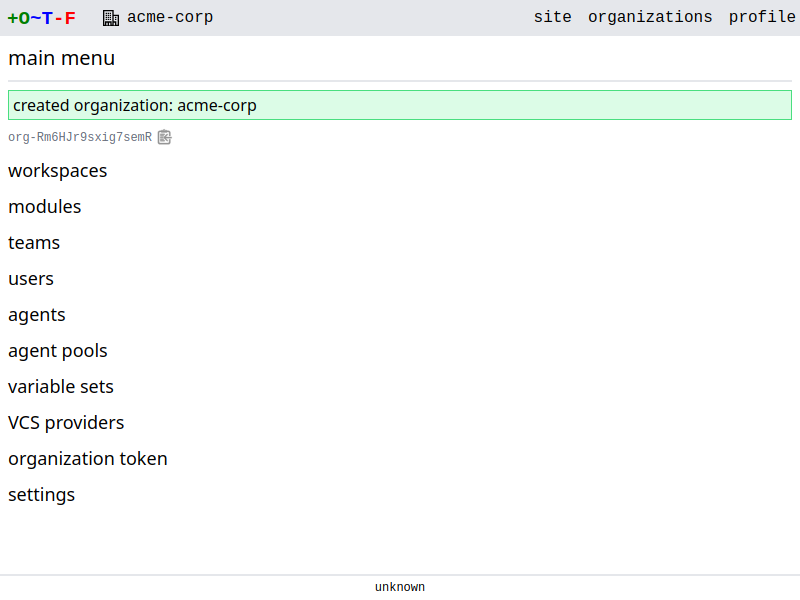
Go to organizations > New Organization. Give the organization a name and create.
Run Terraform
Note
The terraform CLI will be connecting to the server and it expects to make a verified SSL connection. Therefore we need to configure SSL first.
Generate a self-signed SSL certificate and key:
openssl req -x509 -newkey rsa:4096 -sha256 -keyout key.pem -out cert.crt -days 365 -nodes -subj '/CN=localhost' -addext 'subjectAltName=DNS:localhost'
Ensure your system trusts the generated cert. For example, on Ubuntu based systems:
sudo cp cert.crt /usr/local/share/ca-certificates
sudo update-ca-certificates
Now return to the terminal in which otfd is running. You'll need to kill it and start it again, this time with SSL enabled:
> ./otfd --secret=6b07b57377755b07cf61709780ee7484 --site-token=my-token --ssl --cert-file=cert.crt --key-file=key.pem
Terraform needs to use your token to authenticate with otfd:
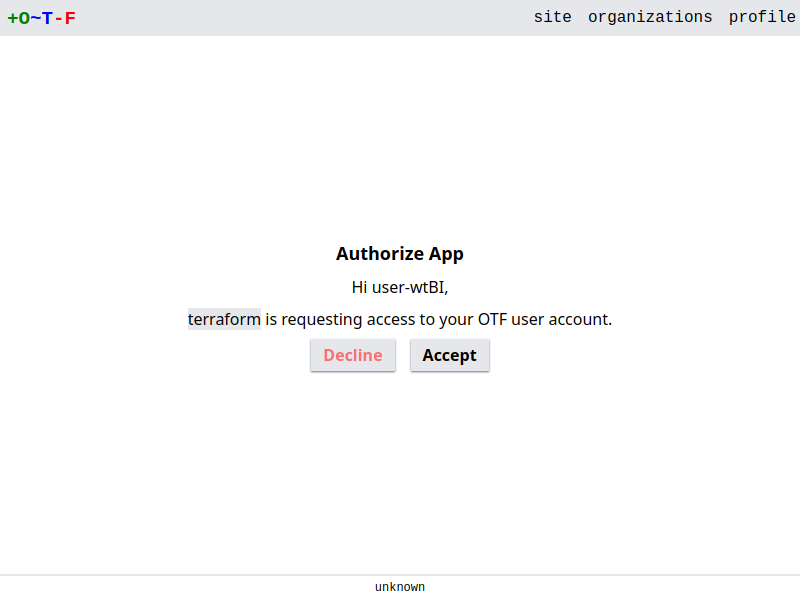
terraform login localhost:8080
Enter yes to proceed. A browser window is opened where you give consent to terraform to access your OTF account:
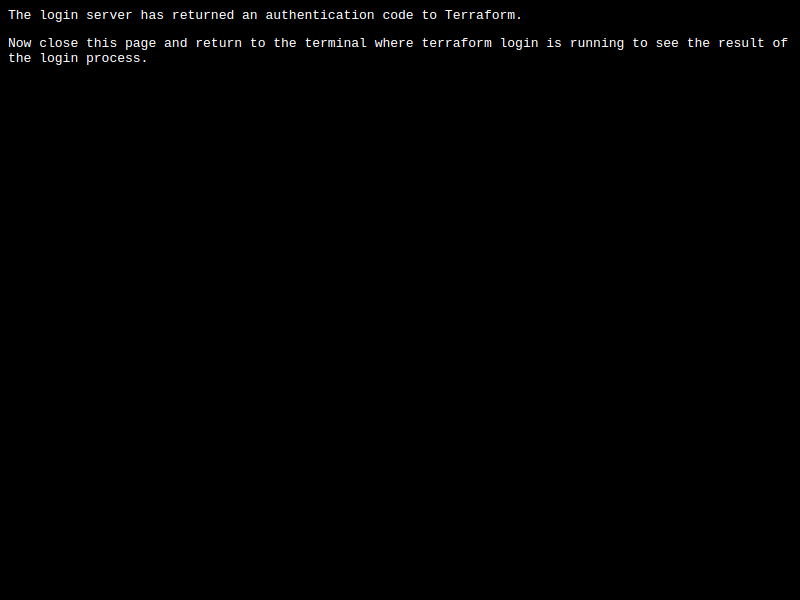
Once you give your consent you should be notified you can close the browser and return to the terminal:
In the terminal you should see the confirmation of success:
Success! Terraform has obtained and saved an API token.
Now we'll write some terraform configuration. Configure the terraform backend and define a resource:
cat > main.tf <<EOF
terraform {
  cloud {
    hostname = "localhost:8080"
    organization = "default"

    workspaces {
      name = "dev"
    }
  }
}

resource "null_resource" "quickstart" {}
EOF
Initialize terraform:
terraform init
Run a plan:
terraform plan
That starts a run on the server. You can click on the link to the run to view status and logs.
And apply:
terraform apply
This starts another run on the server. Again you can click on the link to see logs.
You have reached the end of this quickstart guide. Have a look at the remainder of the documentation to further complete the installation of OTF, to setup SSO, run agents, etc.